RV Body Repairs: Fixing Dents and Scratches
Learn how to properly winterize your RV to protect it from freezing temperatures and prevent costly damage. This comprehensive guide covers everything from draining water systems to insulating pipes and storing batteries, ensuring your RV is ready for the off-season.
Understanding the Importance of RV Winterization
So, you've got an RV, and winter's knocking on the door. Ignoring that knock can lead to some seriously expensive headaches. We're talking burst pipes, cracked tanks, and a whole lot of frustration. Winterizing your RV isn't just a suggestion; it's an absolute necessity to protect your investment and ensure it's ready for adventures when the warmer weather returns. Think of it as giving your RV a cozy blanket for the cold months.
Essential Steps for RV Winterization A Comprehensive Checklist
Alright, let's dive into the nitty-gritty. Winterizing your RV involves several key steps. It's not rocket science, but attention to detail is crucial. We'll break it down so you can tackle each task with confidence.
Draining the Water System The Foundation of Winterization
This is the big one. Water expands when it freezes, and that expansion can wreak havoc on your RV's plumbing. Here's how to drain the water system effectively:
- Drain the Fresh Water Tank: Locate the drain valve for your fresh water tank (usually found underneath the RV or near the tank itself) and open it to allow the tank to completely drain.
- Drain the Water Heater: Turn off the water heater and let it cool completely. Then, remove the drain plug (usually located at the bottom of the heater) and allow all the water to drain out. Replace the drain plug with a new one or use Teflon tape on the old one to ensure a tight seal. Consider a water heater tank rinser to remove sediment buildup. Product Recommendation: Camco RV Water Heater Tank Rinser ($10-15). This simple tool connects to your garden hose and allows you to flush out sediment from your water heater tank, improving its efficiency and lifespan. Use case: Preventing sediment buildup that can reduce heating efficiency and potentially damage the tank.
- Bypass the Water Heater: Most RVs have a water heater bypass valve. Engaging this valve prevents antifreeze from entering the water heater tank, saving you a significant amount of antifreeze. If your RV doesn't have a bypass valve, you can install one. Product Recommendation: Valterra Water Heater Bypass Kit ($20-30). This kit includes all the necessary components to install a bypass valve, making winterizing your RV easier and more efficient. Use case: Simplifying the winterization process and saving on antifreeze costs.
- Drain the Water Lines: Open all faucets (hot and cold) in the RV, including the shower and toilet. Turn on the water pump briefly to push out any remaining water in the lines. Don't forget the outside shower, if you have one!
- Drain the Toilet: Flush the toilet and hold the pedal down to remove all the water from the bowl.
- Drain the Holding Tanks (Black and Gray): Empty both the black and gray water tanks at a designated dump station. Rinse the tanks thoroughly using a tank rinser or built-in tank flushing system. Product Recommendation: Camco RV Flexible Tank Rinser ($25-35). This rinser connects to your garden hose and features a rotating spray head to effectively clean the inside of your holding tanks. Use case: Removing waste buildup and preventing odors during storage.
Using RV Antifreeze Protecting Your Plumbing
Now that the water is out, it's time to introduce RV antifreeze. This non-toxic solution will protect your pipes from freezing and bursting. There are two main methods for introducing antifreeze:
- Using the Water Pump: This is the most common method. Disconnect the inlet hose from the water pump and connect it to a jug of RV antifreeze. Turn on the water pump and open each faucet (hot and cold) one at a time until antifreeze flows out. Repeat this process for the shower and toilet. Don't forget the outside shower! Product Recommendation: Camco RV Antifreeze Hand Pump Kit ($15-20). This kit provides a convenient way to pump antifreeze directly from the jug into your water lines. Use case: Simplifying the antifreeze introduction process and minimizing spills.
- Using a Hand Pump: Some RVers prefer to use a hand pump connected directly to the water lines. This method can be more precise and efficient, especially for smaller RVs.
Important Note: Never use automotive antifreeze in your RV's water system. It is highly toxic and can contaminate your plumbing. Always use RV antifreeze, which is specifically formulated for potable water systems.
Insulating Pipes and Faucets Adding an Extra Layer of Protection
Even with antifreeze in the lines, adding insulation can provide an extra layer of protection against freezing temperatures. Here are some options:
- Pipe Insulation: Wrap exposed pipes with foam pipe insulation. This is particularly important for pipes located in unheated compartments. Product Recommendation: Frost King Foam Pipe Insulation ($10-15 per roll). This insulation is easy to install and provides effective protection against freezing. Use case: Preventing pipes from freezing in exposed areas.
- Faucet Covers: Use insulated faucet covers to protect exterior faucets from freezing. Product Recommendation: Camco Polar White Faucet Cover ($5-10 each). These covers are designed to fit snugly over exterior faucets and provide insulation against cold temperatures. Use case: Protecting exterior faucets from freezing and cracking.
Sealing Gaps and Cracks Preventing Drafts and Heat Loss
Sealing any gaps or cracks in your RV's exterior can help prevent drafts and heat loss, making it easier to maintain a consistent temperature inside. Use caulk or sealant to seal any openings around windows, doors, and other exterior fixtures. Product Recommendation: Geocel Pro Flex RV Flexible Sealant ($15-20 per tube). This sealant is specifically designed for RVs and provides a flexible, waterproof seal that can withstand extreme temperatures. Use case: Preventing drafts and water leaks, improving energy efficiency. Consider using Reflectix insulation in windows for added insulation.
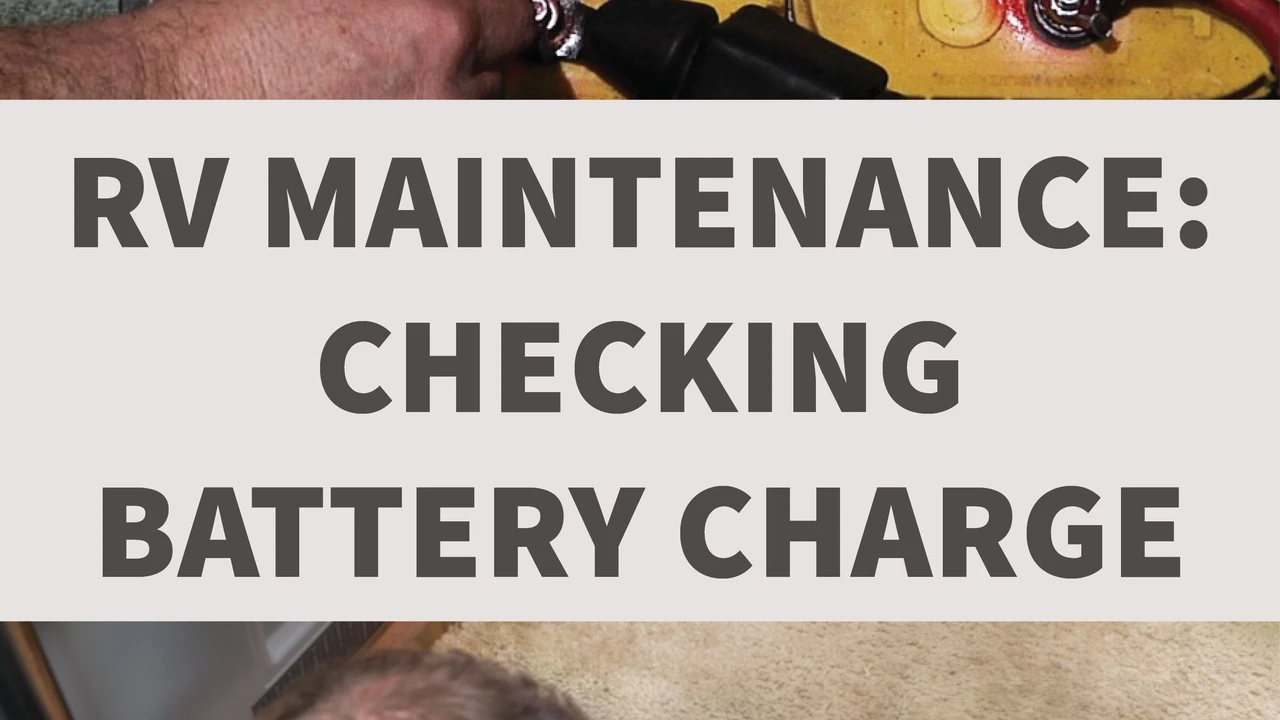
Protecting the Batteries Ensuring Power for Spring
RV batteries can be damaged by cold temperatures. Here's how to protect them during the winter:
- Disconnect the Batteries: Disconnect the batteries from the RV to prevent them from draining over the winter.
- Store the Batteries in a Warm, Dry Place: Store the batteries in a location that is protected from freezing temperatures, such as a garage or basement.
- Charge the Batteries Periodically: Charge the batteries every few months to keep them in good condition. Product Recommendation: NOCO Genius10 Battery Charger ($70-90). This smart charger can automatically detect the type of battery and charge it safely and efficiently. Use case: Maintaining battery health during storage and extending battery lifespan. Consider a battery maintainer to keep them topped off without overcharging.
Maintaining the Exterior Preventing Damage from the Elements
The exterior of your RV also needs protection from the elements. Here are some tips:
- Wash and Wax the RV: Before storing your RV, wash and wax it to protect the paint from the elements.
- Cover the RV: Use an RV cover to protect the RV from snow, rain, and sun. Product Recommendation: ADCO Designer Series SFS Aqua Shed RV Cover ($200-500, depending on size). This cover is made from a breathable, water-resistant material that protects your RV from the elements while allowing moisture to escape. Use case: Protecting the RV's exterior from damage and preventing fading. Consider a breathable RV cover to prevent moisture buildup.
- Check and Seal Roof Seams: Inspect the roof seams and seals for any cracks or damage. Repair any damage with RV sealant to prevent leaks.
Dealing with Appliances Preparing for Storage
Don't forget about your appliances! Proper storage can prevent damage and extend their lifespan.
- Refrigerator: Clean the refrigerator thoroughly and leave the doors ajar to prevent mold and mildew growth. Place an open box of baking soda inside to absorb odors.
- Oven and Stove: Clean the oven and stove thoroughly.
- Microwave: Clean the microwave.
Tire Care During Winter Storage Maintaining Optimal Pressure
Your RV tires can lose pressure during cold weather. Here's how to care for them:
- Inflate the Tires to the Recommended Pressure: Check the tire pressure and inflate the tires to the recommended pressure.
- Cover the Tires: Use tire covers to protect the tires from the sun. Product Recommendation: Classic Accessories Wheel Covers ($20-30 per set of four). These covers protect your tires from UV damage and cracking. Use case: Preventing tire degradation and extending tire lifespan.
- Consider Placing the RV on Blocks: To prevent flat spots, consider placing the RV on blocks to take the weight off the tires.
Propane Tanks Ensuring Safe Storage
Proper propane tank storage is crucial for safety.
- Turn Off the Propane Tanks: Turn off the propane tanks at the valve.
- Consider Removing the Propane Tanks: If possible, remove the propane tanks and store them in a well-ventilated area away from the RV.
RV Winterization Products A Detailed Comparison
Let's take a closer look at some specific products and compare their features, pricing, and use cases.
RV Antifreeze Comparison
RV antifreeze comes in different concentrations and formulations. Here's a comparison of some popular brands:
- Camco RV Antifreeze: A widely available and affordable option. Offers good freeze protection and is safe for potable water systems. Available in various sizes.
- Star brite RV Antifreeze: Known for its superior freeze protection and corrosion inhibitors. Slightly more expensive than Camco.
- Thetford RV Antifreeze: A premium option with added lubricants to protect seals and valves. Typically the most expensive.
Considerations: The level of freeze protection you need will depend on the climate where you store your RV. Always choose RV antifreeze specifically designed for potable water systems.
RV Covers Comparison
RV covers provide crucial protection from the elements. Here's a comparison of different types:
- ADCO Designer Series SFS Aqua Shed RV Cover: A popular choice known for its breathability and water resistance. Offers good UV protection and is relatively easy to install.
- Classic Accessories PolyPRO 3 RV Cover: A more affordable option made from a lighter material. Offers good water resistance but may not be as durable as the ADCO cover.
- King Bird Upgraded Extra Thick 4 Layers RV Cover: A heavy-duty cover with multiple layers of protection. Offers excellent water resistance and UV protection but can be more difficult to install.
Considerations: The size of your RV and the climate where you store it will determine the best type of cover for your needs. Look for a cover that is breathable to prevent moisture buildup.
Battery Chargers and Maintainers Comparison
Keeping your RV batteries charged during storage is essential for their longevity. Here's a comparison of different options:
- NOCO Genius10 Battery Charger: A smart charger that can automatically detect the type of battery and charge it safely and efficiently. Offers multiple charging modes and can also be used as a battery maintainer.
- Battery Tender Plus: A popular battery maintainer that keeps your batteries topped off without overcharging. A good option for long-term storage.
- CTEK 40-206 MXS 5.0 Battery Charger and Maintainer: A versatile charger and maintainer that can be used for a variety of battery types. Offers advanced charging features and is known for its reliability.
Considerations: The type of battery you have (lead-acid, AGM, lithium) will determine the best type of charger for your needs. Look for a charger that offers multiple charging modes and a battery maintainer function.
Common RV Winterization Mistakes to Avoid
Even with the best intentions, it's easy to make mistakes during the winterization process. Here are some common pitfalls to avoid:
- Forgetting to Drain All the Water: This is the most common mistake and can lead to burst pipes. Make sure to drain all water from the fresh water tank, water heater, and water lines.
- Using Automotive Antifreeze: Automotive antifreeze is highly toxic and can contaminate your RV's water system. Always use RV antifreeze.
- Not Insulating Pipes Properly: Exposed pipes are vulnerable to freezing. Make sure to insulate all exposed pipes with foam pipe insulation.
- Ignoring the Batteries: Batteries can be damaged by cold temperatures. Disconnect and store them in a warm, dry place.
- Skipping the Roof Inspection: Leaks can cause significant damage during the winter. Inspect the roof seams and seals for any cracks or damage and repair them with RV sealant.
Alternative Winterization Methods Exploring Other Options
While the methods described above are the most common, there are alternative approaches to winterizing your RV.
Heated RV Storage
If you have access to a heated storage facility, you can avoid the need to winterize your RV altogether. This is the most convenient option, but it can also be the most expensive.
Mobile RV Winterization Services
If you're not comfortable winterizing your RV yourself, you can hire a mobile RV winterization service. These services will come to your location and winterize your RV for you.
The Cost of RV Winterization Breaking Down the Expenses
The cost of winterizing your RV can vary depending on the size of your RV, the products you use, and whether you hire a professional service. Here's a breakdown of the potential expenses:
- RV Antifreeze: $20-50 (depending on the size of your RV)
- Pipe Insulation: $10-20
- Faucet Covers: $5-10
- RV Cover: $200-500
- Battery Charger/Maintainer: $50-100
- Mobile RV Winterization Service: $100-300
Total Estimated Cost: $385 - $980
Post-Winterization Checklist Ensuring Everything is Ready for Spring
Once you've winterized your RV, it's important to create a checklist to ensure everything is ready for spring. This checklist should include:
- Documenting the Winterization Process: Keep a detailed record of all the steps you took to winterize your RV. This will make it easier to de-winterize in the spring.
- Storing the RV in a Secure Location: Park your RV in a secure location that is protected from the elements.
- Checking on the RV Periodically: Check on your RV periodically throughout the winter to ensure that everything is in good condition.
De-Winterizing Your RV Preparing for the New Season
When spring arrives, it's time to de-winterize your RV and prepare it for the new season. This process involves reversing the winterization steps and ensuring that all systems are functioning properly.
- Flushing the Water System: Flush the water system thoroughly to remove all traces of antifreeze.
- Sanitizing the Water System: Sanitize the water system to kill any bacteria that may have grown during the winter.
- Reconnecting the Batteries: Reconnect the batteries and charge them fully.
- Inspecting the RV for Damage: Inspect the RV for any damage that may have occurred during the winter.
The Long-Term Benefits of Proper RV Winterization
Investing the time and effort to properly winterize your RV offers significant long-term benefits, including:
- Preventing Costly Damage: Winterization prevents damage from freezing temperatures, saving you money on repairs.
- Extending the Lifespan of Your RV: Proper storage and maintenance can extend the lifespan of your RV.
- Ensuring a Hassle-Free Spring: A well-winterized RV will be ready for adventures when the warmer weather returns.
- Maintaining Resale Value: A well-maintained RV will retain its value better than one that has been neglected.
By following these tips and taking the necessary precautions, you can protect your RV from the harsh winter elements and ensure that it's ready for many more adventures to come. Happy RVing!
:max_bytes(150000):strip_icc()/277019-baked-pork-chops-with-cream-of-mushroom-soup-DDMFS-beauty-4x3-BG-7505-5762b731cf30447d9cbbbbbf387beafa.jpg)