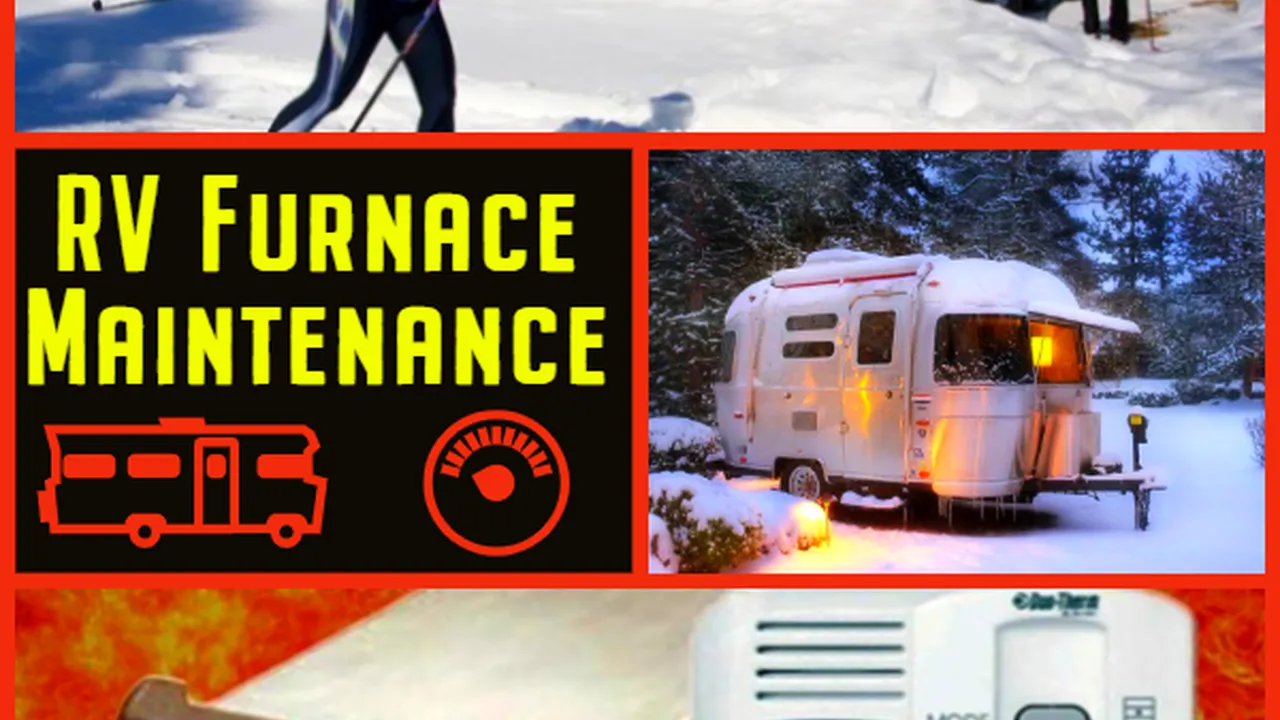
RV Furnace Maintenance: Staying Warm in Cold Weather
RV Furnace Maintenance Understanding the Basics
Let's dive into the world of RV furnace maintenance. Before we get our hands dirty, it's crucial to understand what an RV furnace is and how it works. Think of it as a miniature version of the furnace in your home. It burns propane (LP gas) to generate heat, which is then distributed throughout your RV via a network of ducts and vents. The furnace consists of several key components, including:
- Burner Assembly: This is where the propane is ignited to create a flame.
- Heat Exchanger: The heat from the flame is transferred to the air passing through the heat exchanger.
- Blower Fan: This fan circulates the heated air throughout the RV.
- Thermostat: This regulates the temperature by turning the furnace on and off.
- Control Board: The brains of the operation, managing the various functions of the furnace.
Understanding these components will help you troubleshoot common issues and perform basic maintenance tasks.
Importance of Regular RV Furnace Maintenance
Why bother with regular maintenance? Well, just like any mechanical system, your RV furnace needs regular attention to ensure it operates safely and efficiently. Neglecting maintenance can lead to:
- Reduced Heating Efficiency: A dirty or malfunctioning furnace will struggle to heat your RV, wasting propane and costing you money.
- Safety Hazards: A faulty furnace can leak carbon monoxide, a deadly odorless gas. Regular inspections are crucial to prevent this.
- Costly Repairs: Small problems can quickly escalate into major repairs if left unattended.
- Premature Failure: Neglecting maintenance can shorten the lifespan of your furnace, requiring you to replace it sooner than necessary.
Think of it as preventative medicine for your RV's heating system. A little maintenance goes a long way in preventing headaches down the road.
Essential RV Furnace Maintenance Checklist
Now, let's get to the nitty-gritty. Here's a comprehensive checklist of essential RV furnace maintenance tasks you should perform regularly:
- Visual Inspection: Start by visually inspecting the furnace for any signs of damage, such as rust, corrosion, or loose connections. Pay close attention to the exhaust vent, ensuring it's clear of obstructions.
- Clean the Burner Assembly: A dirty burner assembly can cause inefficient combustion. Use a brush or vacuum to remove any debris from the burner and surrounding area.
- Inspect and Clean the Heat Exchanger: The heat exchanger can accumulate dust and debris over time, reducing its efficiency. Use a vacuum with a brush attachment to clean the heat exchanger fins. Caution: Be extremely careful not to damage the fins.
- Check the Blower Fan: Ensure the blower fan is clean and operating smoothly. Remove any dust or debris that may be obstructing its movement.
- Inspect the Ductwork: Check the ductwork for leaks or damage. Seal any leaks with duct tape or foil tape.
- Test the Thermostat: Verify that the thermostat is functioning properly and accurately controlling the temperature.
- Carbon Monoxide Detector Test: This is the most crucial step! Test your carbon monoxide detector regularly to ensure it's working properly. Replace the batteries at least twice a year.
- Professional Inspection: Schedule a professional inspection at least once a year to catch any potential problems you may have missed.
Step-by-Step Guide to Cleaning Your RV Furnace Burner
Let's break down the process of cleaning the burner assembly, as this is a task you can easily perform yourself. Here's a step-by-step guide:
- Turn Off the Propane: Before you begin, turn off the propane supply to your RV. This is a crucial safety precaution.
- Disconnect the Power: Disconnect the power to your RV to prevent accidental electrical shock.
- Locate the Furnace: Find the access panel for your RV furnace. It's usually located on the exterior of the RV.
- Remove the Access Panel: Remove the screws or latches holding the access panel in place.
- Locate the Burner Assembly: The burner assembly is usually located inside the furnace compartment.
- Disconnect the Gas Line: Carefully disconnect the gas line from the burner assembly. Use a wrench to loosen the fitting. Caution: Be extremely careful not to damage the gas line.
- Remove the Burner Assembly: Remove the screws or bolts holding the burner assembly in place.
- Clean the Burner: Use a brush or vacuum to remove any debris from the burner and surrounding area. You can also use compressed air to blow out any stubborn dirt.
- Inspect the Orifice: The orifice is a small opening that meters the flow of propane. Inspect the orifice for any clogs or damage. If necessary, clean the orifice with a small needle or wire.
- Reassemble the Burner Assembly: Reassemble the burner assembly, making sure all connections are tight.
- Reconnect the Gas Line: Carefully reconnect the gas line to the burner assembly. Tighten the fitting securely.
- Replace the Access Panel: Replace the access panel and secure it with the screws or latches.
- Turn On the Propane: Turn on the propane supply to your RV.
- Test the Furnace: Test the furnace to ensure it's working properly.
RV Furnace Troubleshooting Common Issues and Solutions
Even with regular maintenance, you may encounter some common RV furnace problems. Here are a few troubleshooting tips:
- Furnace Won't Turn On: Check the thermostat, power supply, and propane supply. Make sure the propane tank is not empty and the valves are open. Also, check the fuse or circuit breaker for the furnace.
- Furnace Blows Cold Air: Check the thermostat setting and the propane supply. A dirty burner assembly or heat exchanger can also cause this problem.
- Furnace Makes Unusual Noises: Unusual noises can indicate a problem with the blower fan, burner assembly, or heat exchanger. Inspect these components for damage or debris.
- Furnace Smells Like Propane: If you smell propane, immediately turn off the propane supply and ventilate the RV. Check for leaks in the gas line and fittings. Contact a qualified technician for repair.
- Furnace Cycles On and Off Frequently: This can indicate a problem with the thermostat, heat exchanger, or blower fan. A dirty air filter can also cause this problem.
RV Furnace Maintenance Tools and Supplies You'll Need
To perform RV furnace maintenance effectively, you'll need a few essential tools and supplies:
- Screwdrivers: A set of screwdrivers in various sizes.
- Wrenches: A set of wrenches for tightening and loosening gas line fittings.
- Vacuum Cleaner: A vacuum cleaner with a brush attachment for cleaning the burner assembly and heat exchanger.
- Brush: A small brush for cleaning the burner assembly.
- Compressed Air: Compressed air for blowing out debris from the burner assembly.
- Carbon Monoxide Detector: A working carbon monoxide detector.
- Duct Tape or Foil Tape: For sealing leaks in the ductwork.
- Multimeter: For testing electrical components (optional).
- Safety Glasses: To protect your eyes from debris.
- Gloves: To protect your hands.
RV Furnace Filter Replacement Choosing the Right Filter
The air filter in your RV furnace plays a crucial role in maintaining air quality and protecting the furnace components. A dirty air filter restricts airflow, which can reduce heating efficiency and cause the furnace to overheat. It's essential to replace the air filter regularly, typically every three months or more often if you're camping in dusty environments.
When choosing a replacement air filter, make sure it's the correct size and type for your furnace. Consult your owner's manual for the specific filter requirements. You can also find replacement filters at most RV supply stores and online retailers.
Product Recommendation: Camco RV Furnace Filter - This filter is designed to capture dust, pollen, and other airborne particles, improving air quality and protecting your furnace. It's available in various sizes to fit most RV furnaces. You can find it on Amazon for around $10-$15.
Propane Safety Tips for RV Furnace Operation
Propane is a flammable gas, so it's essential to follow these safety tips when operating your RV furnace:
- Never smoke or use open flames near the furnace.
- Inspect the gas line and fittings regularly for leaks. Use a soapy water solution to check for leaks. If you see bubbles, there's a leak.
- Never store flammable materials near the furnace.
- Make sure the exhaust vent is clear of obstructions.
- Install and maintain a working carbon monoxide detector.
- If you smell propane, immediately turn off the propane supply and ventilate the RV.
- Have your furnace inspected by a qualified technician at least once a year.
Professional RV Furnace Inspection When to Call an Expert
While you can perform some basic RV furnace maintenance tasks yourself, it's crucial to schedule a professional inspection at least once a year. A qualified technician can identify potential problems you may have missed and ensure your furnace is operating safely and efficiently.
You should also call a professional if you experience any of the following:
- You smell propane.
- The furnace is making unusual noises.
- The furnace is not heating properly.
- You suspect a carbon monoxide leak.
A professional inspection typically includes:
- A thorough inspection of all furnace components.
- A carbon monoxide test.
- A gas leak test.
- A burner assembly cleaning.
- A heat exchanger inspection.
- A blower fan inspection.
RV Furnace Upgrade Options Enhancing Heating Efficiency
If you're looking to improve the heating efficiency of your RV furnace, there are several upgrade options available:
- High-Efficiency Furnace: Consider replacing your old furnace with a newer, high-efficiency model. These furnaces are designed to burn propane more efficiently, saving you money on fuel costs.
- Programmable Thermostat: A programmable thermostat allows you to set different temperature settings for different times of the day, reducing energy consumption when you're not using the RV.
- Insulation: Improving the insulation in your RV can help retain heat and reduce the amount of energy needed to keep it warm.
- Ductwork Sealing: Sealing leaks in the ductwork can prevent heat loss and improve the efficiency of your heating system.
RV Furnace Brands and Models A Comparison
Choosing the right RV furnace can be overwhelming, with so many brands and models available. Here's a comparison of some popular options:
- Atwood RV Furnaces: Atwood (now Dometic) is a well-known brand that offers a variety of RV furnaces known for their reliability and durability. Their furnaces are available in different BTU ratings to suit various RV sizes.
- Suburban RV Furnaces: Suburban is another popular brand known for its affordable and efficient RV furnaces. Their furnaces are easy to install and maintain.
- Dometic RV Furnaces: Dometic offers a wide range of RV appliances, including furnaces. Their furnaces are known for their advanced features and energy efficiency.
Product Comparison:
Atwood/Dometic AFMD30131 vs. Suburban NT-30SP
- BTU Rating: Both offer approximately 30,000 BTU.
- Price: The Suburban NT-30SP is generally more affordable, typically ranging from $400-$500, while the Dometic AFMD30131 can range from $500-$600.
- Features: Dometic often includes more advanced features like quieter operation and more precise temperature control. Suburban is known for its simpler, more robust design.
- Reliability: Both brands are generally reliable, but some users report that Suburban furnaces are easier to repair due to their simpler design.
RV Furnace Cost Breakdown Maintenance vs Replacement
Understanding the cost associated with RV furnace maintenance and potential replacement is crucial for budgeting and planning.
Maintenance Costs:
- DIY Maintenance: The cost of DIY maintenance is relatively low, typically involving the purchase of air filters ($10-$20), cleaning supplies (brushes, vacuum), and basic tools (if you don't already own them). The total cost for a year of DIY maintenance could range from $50-$100.
- Professional Inspection: A professional RV furnace inspection typically costs between $100 and $200, depending on the technician's hourly rate and the complexity of the inspection.
- Repair Costs: Repair costs can vary widely depending on the nature of the problem. Minor repairs, such as replacing a faulty thermostat, might cost $50-$100. More significant repairs, such as replacing a burner assembly or heat exchanger, could cost several hundred dollars.
Replacement Costs:
- Furnace Cost: The cost of a new RV furnace can range from $400 to $800 or more, depending on the brand, model, and BTU rating.
- Installation Cost: Professional installation of a new RV furnace typically costs between $200 and $400, depending on the complexity of the installation and the technician's hourly rate.
- Total Replacement Cost: The total cost of replacing an RV furnace can range from $600 to $1200 or more.
Cost-Benefit Analysis: Regular maintenance can significantly extend the lifespan of your RV furnace and prevent costly repairs. Investing in preventative maintenance is generally more cost-effective than waiting for the furnace to fail and then having to pay for a complete replacement.
RV Furnace Winterization Protecting Your System from Freezing
If you live in a cold climate or plan to store your RV for the winter, it's essential to winterize your RV furnace to protect it from freezing damage. Freezing water can damage the heat exchanger and other components of the furnace.
Here's how to winterize your RV furnace:
- Drain the Water Heater: Drain all the water from the water heater.
- Bypass the Water Heater: Bypass the water heater to prevent antifreeze from entering it.
- Add RV Antifreeze: Add RV antifreeze to the plumbing system. This will protect the pipes and fixtures from freezing.
- Run the Furnace: Run the furnace for a few minutes to circulate the antifreeze throughout the system.
- Remove the Air Filter: Remove the air filter from the furnace.
- Cover the Exhaust Vent: Cover the exhaust vent to prevent animals from entering the furnace.
RV Furnace Ventilation Ensuring Proper Airflow
Proper ventilation is crucial for safe and efficient RV furnace operation. The furnace needs adequate airflow to burn propane properly and prevent carbon monoxide buildup. Make sure the exhaust vent is clear of obstructions and that the RV is well-ventilated.
Here are some tips for ensuring proper RV furnace ventilation:
- Check the Exhaust Vent: Regularly inspect the exhaust vent to ensure it's clear of obstructions, such as snow, ice, or debris.
- Open Windows and Vents: Open windows and vents slightly to allow fresh air to circulate.
- Use a Vent Fan: Use a vent fan to help circulate air and remove moisture.
- Install a Carbon Monoxide Detector: Install and maintain a working carbon monoxide detector to alert you to the presence of this deadly gas.
RV Furnace Safety Precautions Preventing Carbon Monoxide Poisoning
Carbon monoxide (CO) is a deadly, odorless, and colorless gas that can be produced by a malfunctioning RV furnace. CO poisoning can cause serious health problems and even death. It's crucial to take the following safety precautions to prevent CO poisoning:
- Install a Carbon Monoxide Detector: Install a working carbon monoxide detector in your RV and test it regularly. Replace the batteries at least twice a year.
- Have Your Furnace Inspected Regularly: Have your RV furnace inspected by a qualified technician at least once a year to ensure it's operating safely and efficiently.
- Never Block the Exhaust Vent: Never block the exhaust vent of your RV furnace. This can cause CO to build up inside the RV.
- Open Windows and Vents: Open windows and vents slightly to allow fresh air to circulate.
- Never Use Portable Heaters Indoors: Never use portable heaters that burn propane or other fuels indoors. These heaters can produce CO.
- Know the Symptoms of CO Poisoning: Be aware of the symptoms of CO poisoning, which include headache, dizziness, nausea, vomiting, shortness of breath, and confusion. If you suspect CO poisoning, immediately evacuate the RV and seek medical attention.
RV Furnace Maintenance in Humid Climates Addressing Moisture Issues
Maintaining your RV furnace in humid climates presents unique challenges due to the increased moisture levels. Moisture can lead to corrosion, mold growth, and reduced furnace efficiency. Here's how to address moisture issues:
- Regularly Inspect for Rust and Corrosion: Pay close attention to metal components of the furnace, such as the heat exchanger and burner assembly, for signs of rust and corrosion. Clean any rust or corrosion promptly with a wire brush and apply a protective coating.
- Use a Dehumidifier: Using a dehumidifier in your RV can help reduce moisture levels and prevent mold growth.
- Improve Ventilation: Ensure adequate ventilation in your RV by opening windows and vents regularly.
- Seal Leaks: Seal any leaks in the roof, walls, or windows of your RV to prevent moisture from entering.
- Clean and Dry Regularly: Clean and dry all surfaces in your RV regularly to prevent mold growth.
- Consider a Furnace Cover: When storing your RV, consider using a furnace cover to protect it from moisture and other elements.
RV Furnace and Pets Keeping Your Furry Friends Safe
When using your RV furnace, it's essential to consider the safety of your pets. Here are some tips for keeping your furry friends safe:
- Never Leave Pets Unattended: Never leave your pets unattended in the RV while the furnace is running.
- Ensure Proper Ventilation: Ensure proper ventilation in the RV to prevent carbon monoxide buildup.
- Monitor the Temperature: Monitor the temperature inside the RV to ensure it's comfortable for your pets.
- Provide Water: Provide your pets with plenty of fresh water.
- Be Aware of Overheating: Be aware of the signs of overheating in pets, which include excessive panting, drooling, and lethargy. If you suspect your pet is overheating, immediately move it to a cooler location and provide it with water.
- Consider Pet-Safe Heaters: If you're concerned about the safety of your RV furnace, consider using pet-safe electric heaters as an alternative.
:max_bytes(150000):strip_icc()/277019-baked-pork-chops-with-cream-of-mushroom-soup-DDMFS-beauty-4x3-BG-7505-5762b731cf30447d9cbbbbbf387beafa.jpg)